How to Custom Paint Sneakers - Supplies, Instructions & FAQs
-
The best paint for custom painting sneakers is a leather paint like these from Angelus. This set has some metallics.
Acrylic paint also works well on leather and faux leather shoes.
For painting on fabric shoes, you can also use acrylic paint as long as you mix it with a fabric medium.
-
Yes, acrylic paint can be used to custom paint sneakers. It is thicker than leather paint, so you may want to thin it a bit so it applies smoothly.
-
Removing the glossy factory finish from your sneakers is very important. By using acetone or a leather deglazer with a cotton ball, you will create a more matte surface that the paint can stick to.
-
Painting the soles of the sneakers is not recommended as the paint will most likely not stand up to the wear and tear.
-
Paint the shoe in multiple, thin layers. Applying your paint too thickly will cause it to crack and peel.
Consider using paints specifically designed for leather materials. Leather paint goes on very smooth and is very durable.
If you still have concerns about cracking, seal the show with a finisher for even more peace of mind.
Disclosure: Some links below are affiliate links. This means that, at zero cost to you, I will earn a commission if you click the link and finalize a purchase.
Custom painting sneakers can be a lot of fun and you don’t even need to be an artist to do it! And, while the trend is to customize Nike Air Force 1s, you can accomplish a fun look for a lot less money with sneakers from places like Walmart, or Target, or Amazon.
Custom painting shoes is a fun project at any age— even kids— and requires very few supplies. Read on to get started…
Supplies
Acetone or Leather Deglazer
Leather Paints (Budget Friendly Option)
Optional: Painter’s tape, x-acto knife & cutting mat, Finisher
1. Remove the shoe laces before you start painting your sneakers.
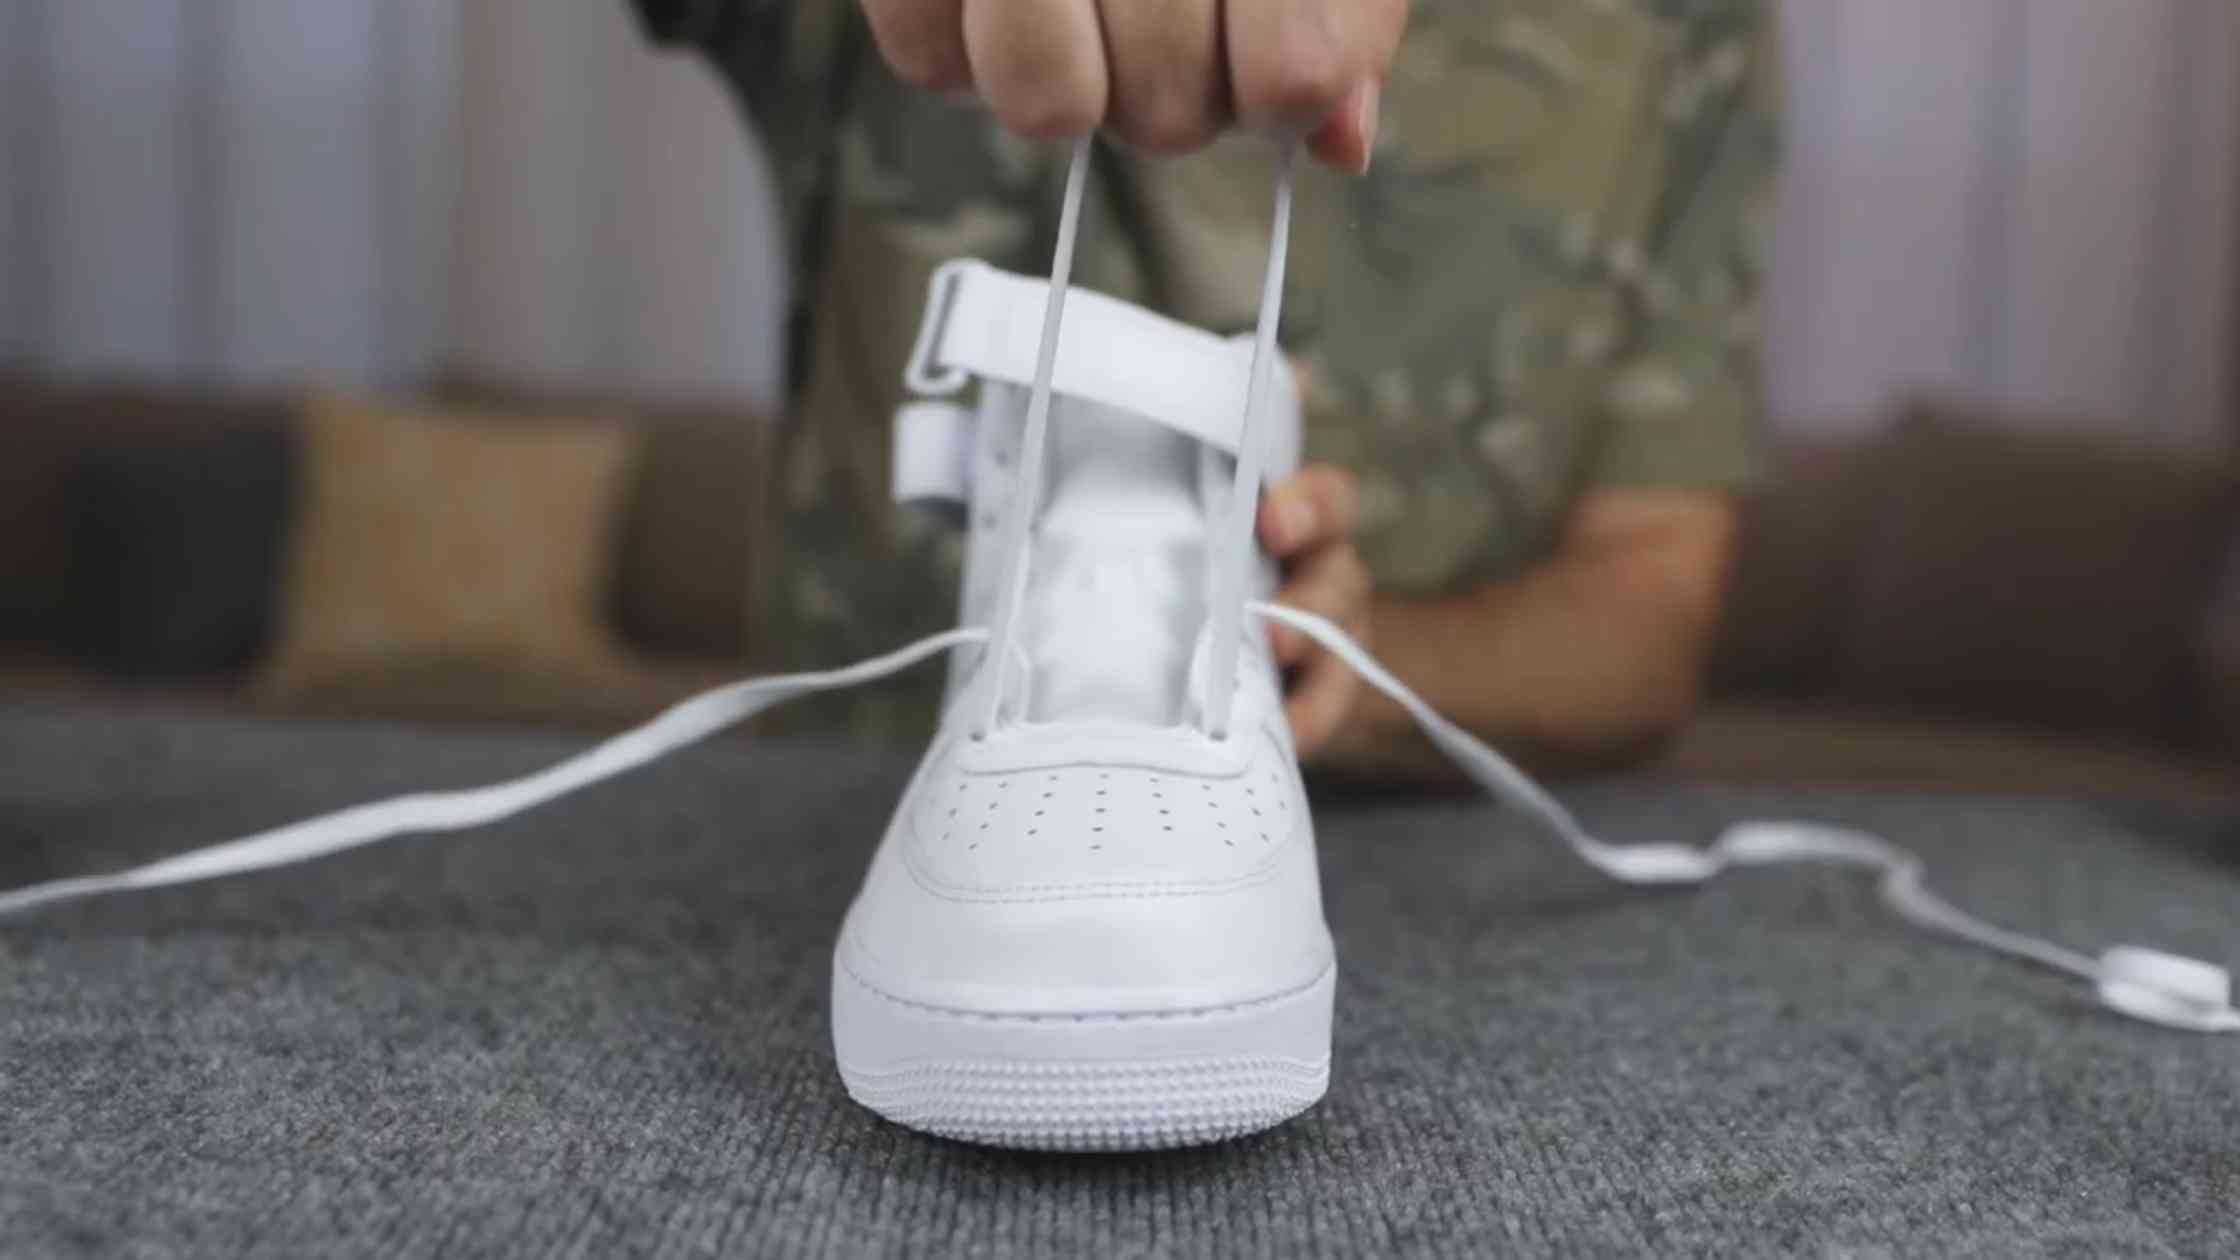
This step is pretty self-explanatory— you don’t want to get paint on the laces… so it’s easier to remove them ahead of time. Paint is difficult to remove from fabric materials, so don’t skip this step!
2. Prepare your sneakers for painting.
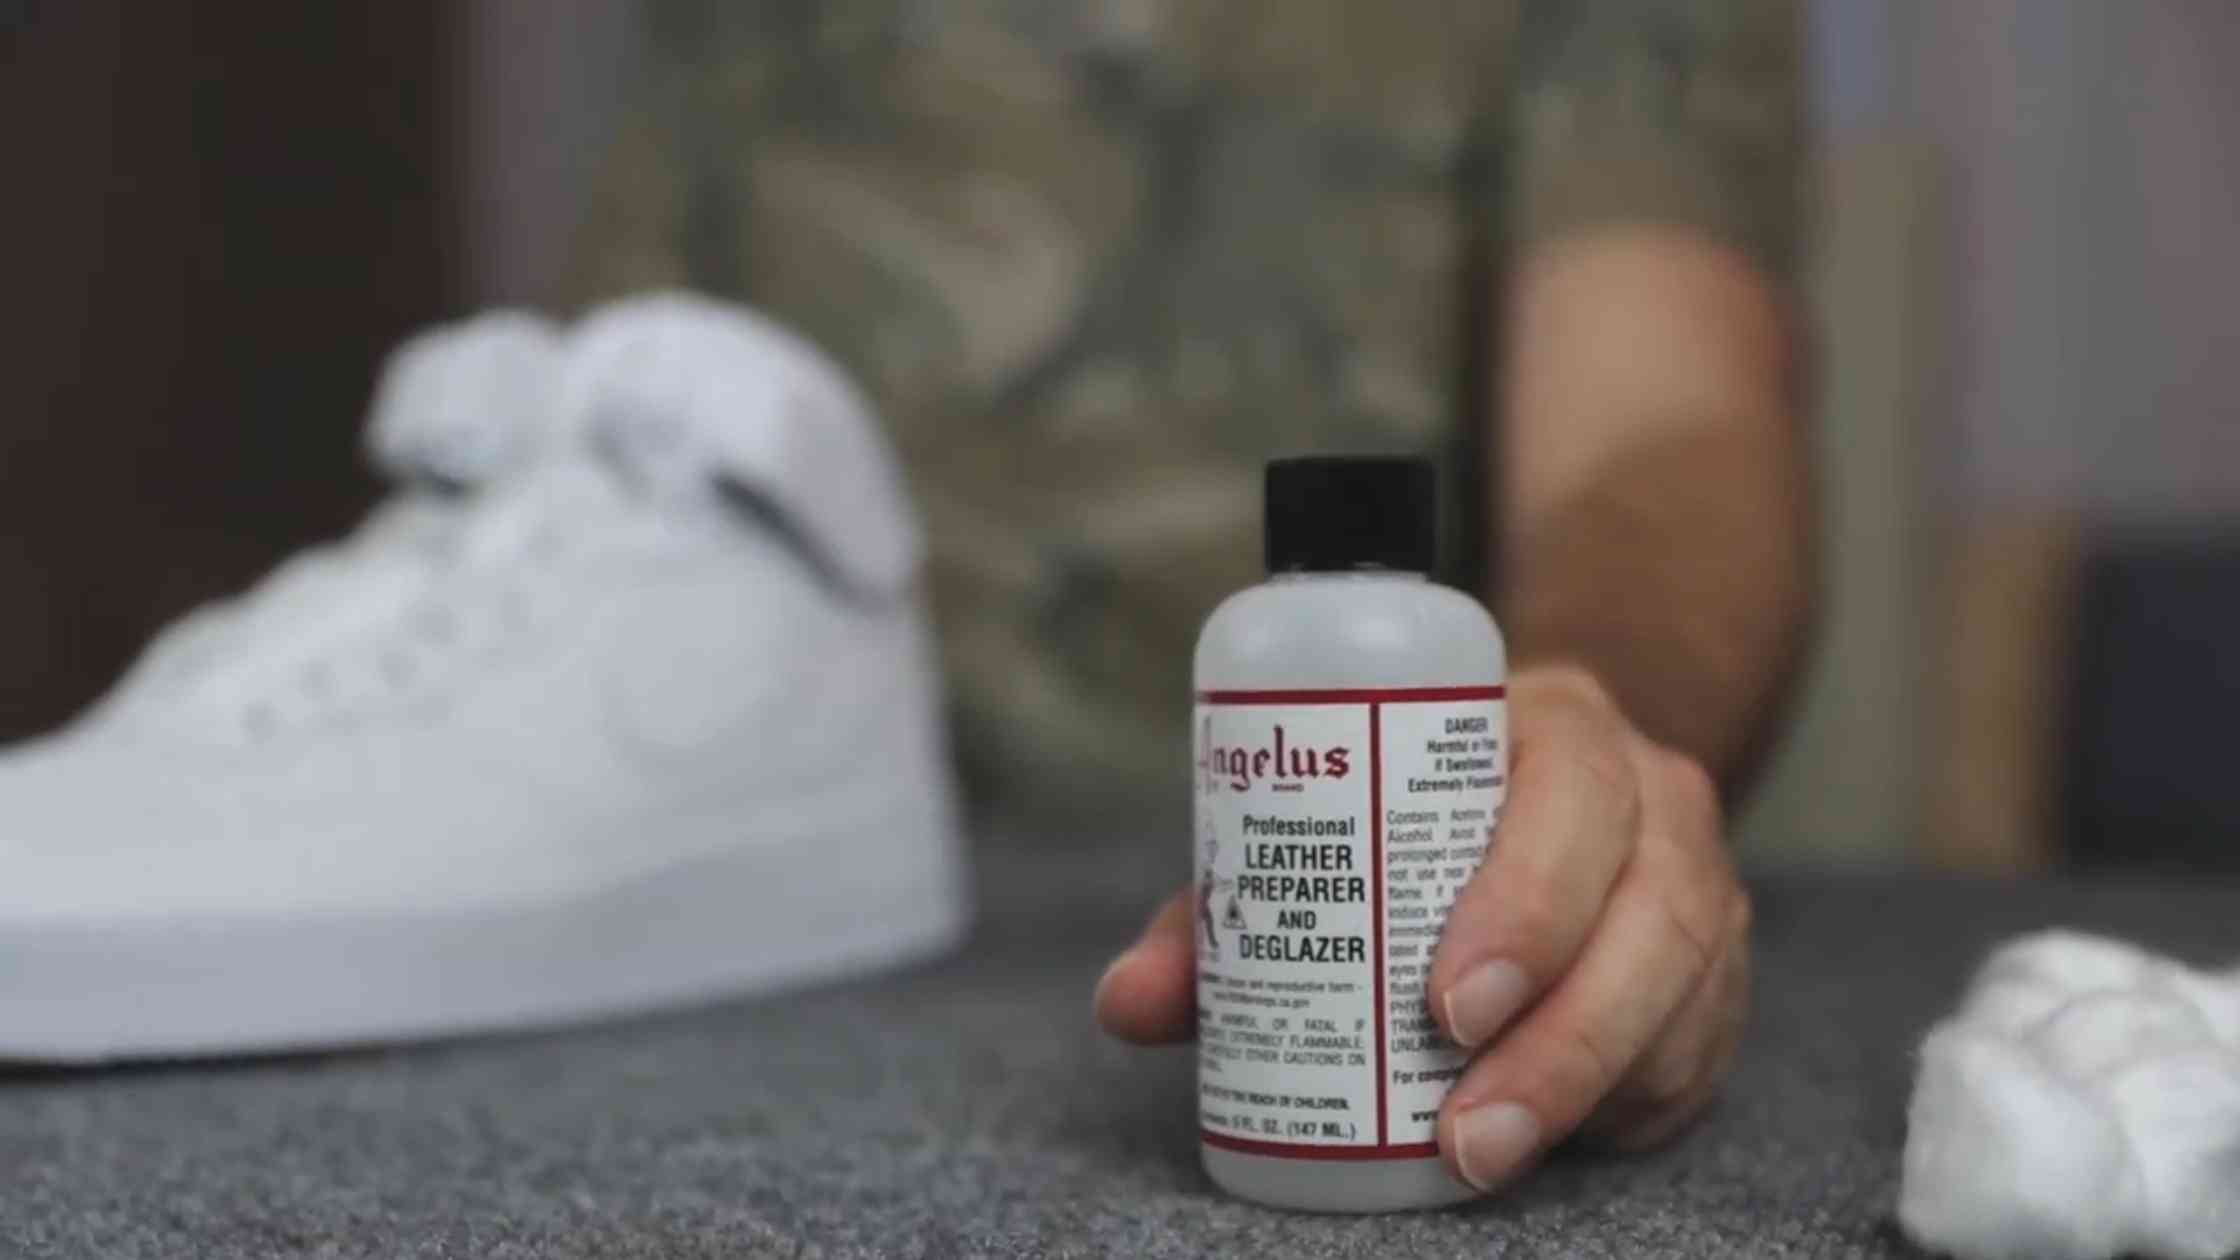
The first step in creating a pair of custom painted sneakers is removing the clear coat from the shoes in any of the areas you plan on painting.
By removing this glossy layer, your paint will better adhere to the sneaker which will hopefully prevent cracking and peeling in the future.
You may need to do a couple of coats until the sneakers appear more matte looking. Allow to fully dry.
3. Optional: Tape off areas you are not planning to paint.
Some people swear by using painter’s tape to cover any areas they do not want to paint, but others feel it gives a false sense of security since paint can often seep underneath the tape.
Either way, most mistakes can be cleaned up as you go or in the end.
4. Start painting your sneakers!
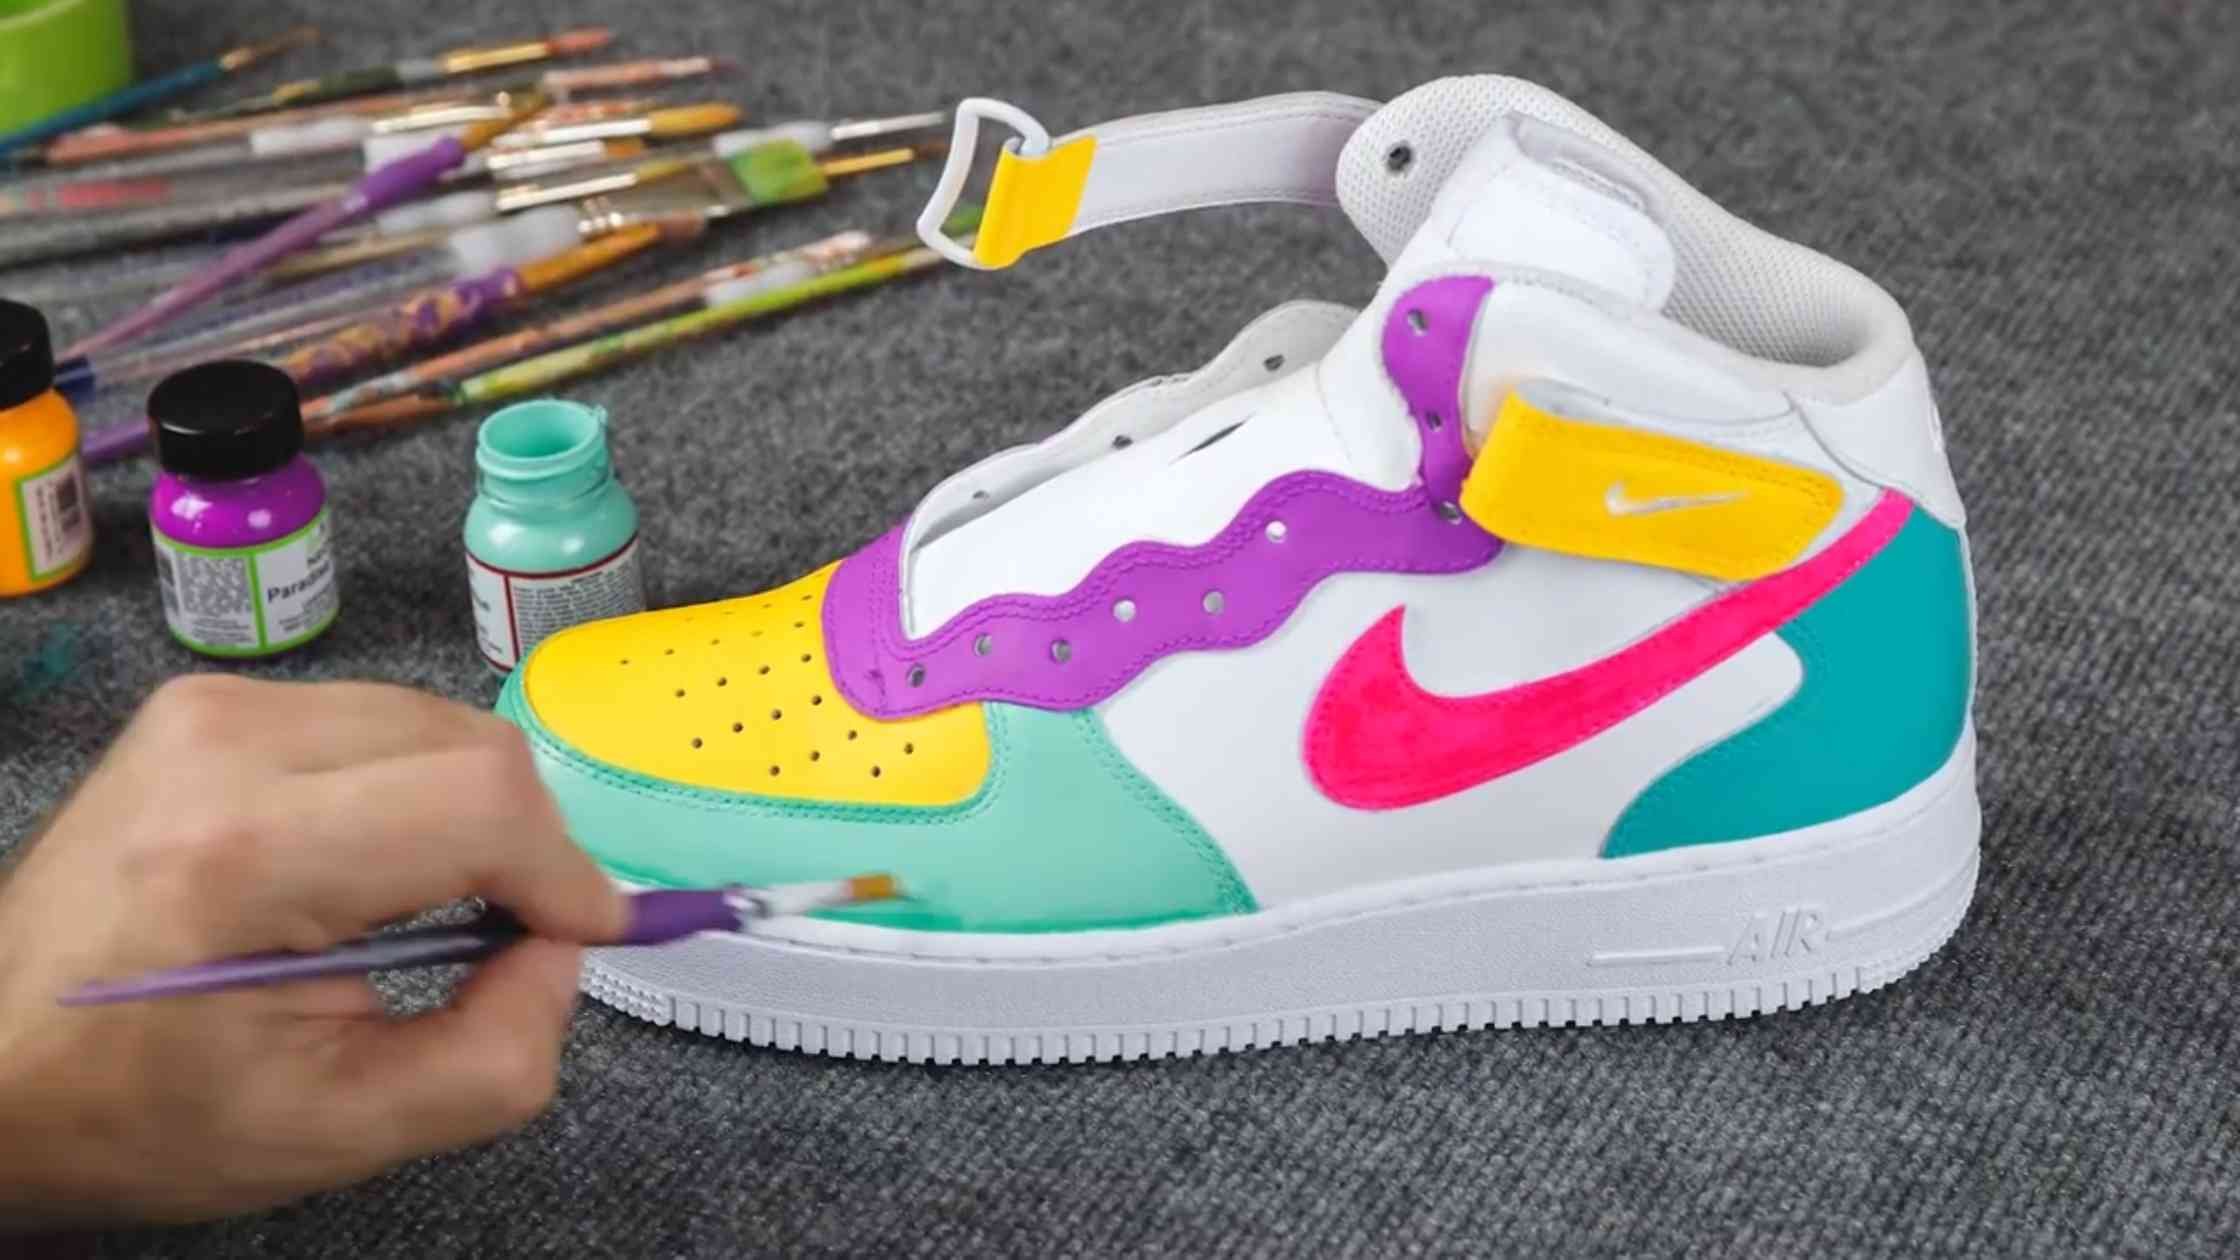
If painting leather or faux leather shoes, paints specifically made for leather are your best bet. They can be a bit pricey, but their smooth consistency and durability make them worth it.
Be sure to paint in thin layers, allowing each layer to dry in between. Certain colors will appear sheerer than others. Just keep layering until you achieve the look you are going for!
Standard acrylic paint is another option that is more affordable and readily available. Acrylic paint tends to be a bit thicker than leather paint, so keep that in mind as applying thin coats is really important to prevent cracking.
If painting fabric shoes, be sure to mix a fabric medium into your acrylic paint to make it more pliable.
If you are planning on painting designs, start by painting your solid blocks of color first and layer on your images from there.
Not artistic? Masking or Painters tape can also be helpful here to create simple stencils. Simply put the tape on a cutting mat, draw on your design, and use your X-ACTO knife to cut it out.
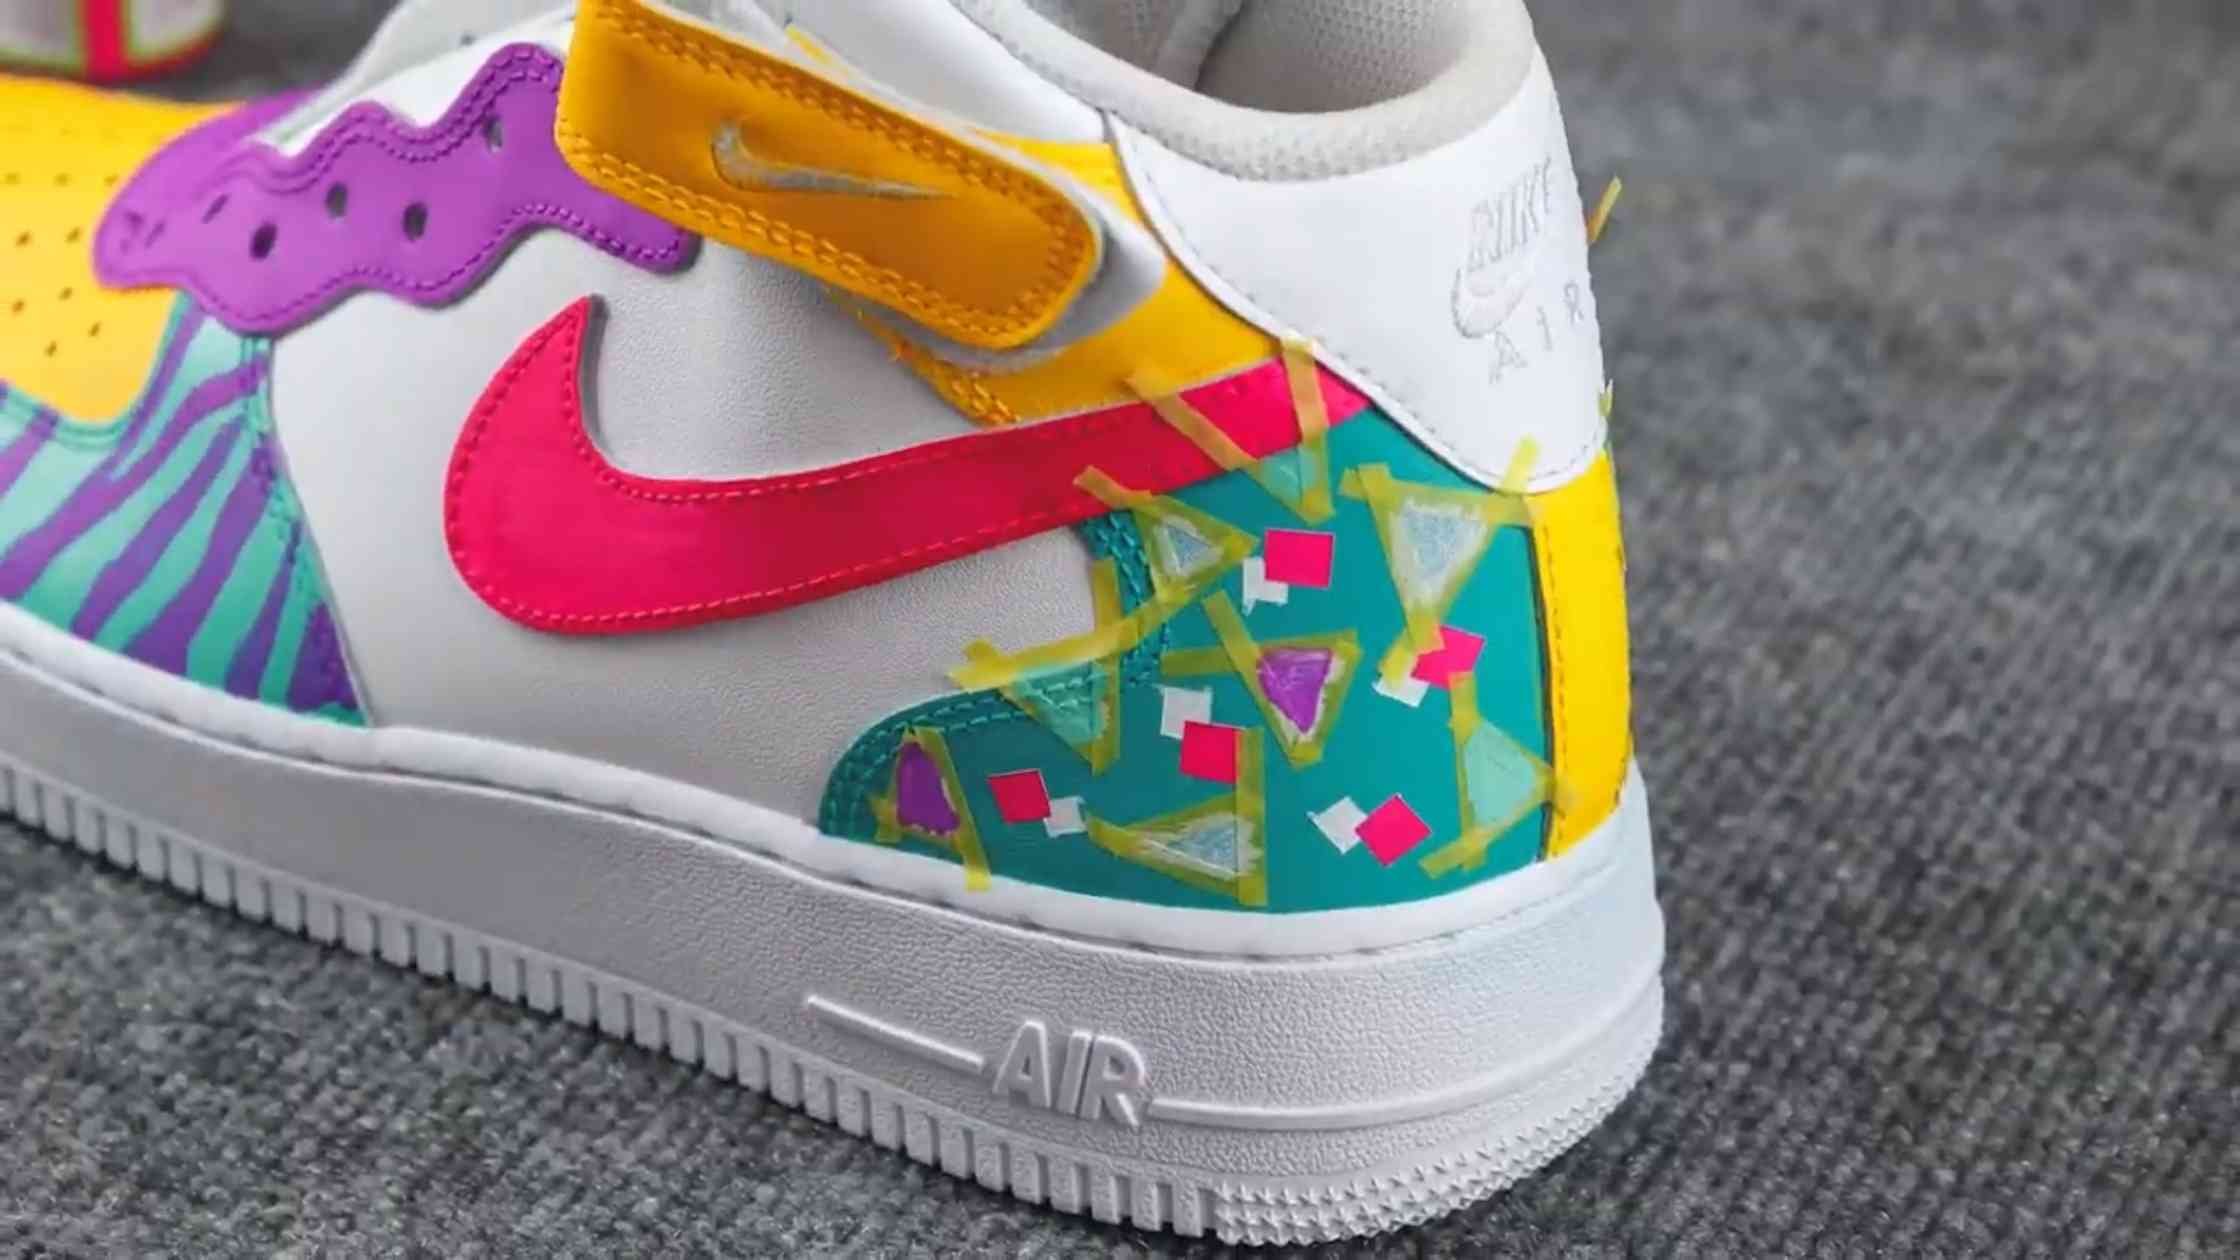
You can also buy some ready-made vinyl stencils for even better results.
Allow 24 hours for the shoes to fully dry.
5. Clean up any mistakes.
If you used tape to block off any areas, remove it now. Do it gently, so you don’t pull up any paint with the tape.
Cleaning up mistakes is simple. Just dip a cotton swab in the same acetone or deglazer you used earlier and gently rub away any unwanted paint.
This is also where you can fill in any spots you missed and straighten up any lines.
These final touchups are what bring a pair of sneakers together for a polished look.
I recently painted my own pair of Nike Air Force 1 sneakers with a 90s-inspired look. Watch and let me know what you think!
Don’t Forget to Pin it! ↓

You May Also Like:

Check out the bird neighborhood I built– complete with custom art – in hopes that one particular bird pays me a visit!!