How to Make an Easy & Realistic Witch Cauldron For Halloween
Check out the full video of me making my own DIY witch cauldron along with my hand-painted Hocus Pocus display or scroll on for the directions on how to transform your own cauldron.
Disclosure: Some links found throughout are affiliate links. This means that, at zero cost to you, I will earn a commission if you click the link and finalize a purchase.
Materials for your DIY Witch Cauldron:
Mist Fogger (Another great option would be a diffuser.)
Water-proof Sealant (if using outdoors)
So, we’ve all seen the cauldrons that look like this…
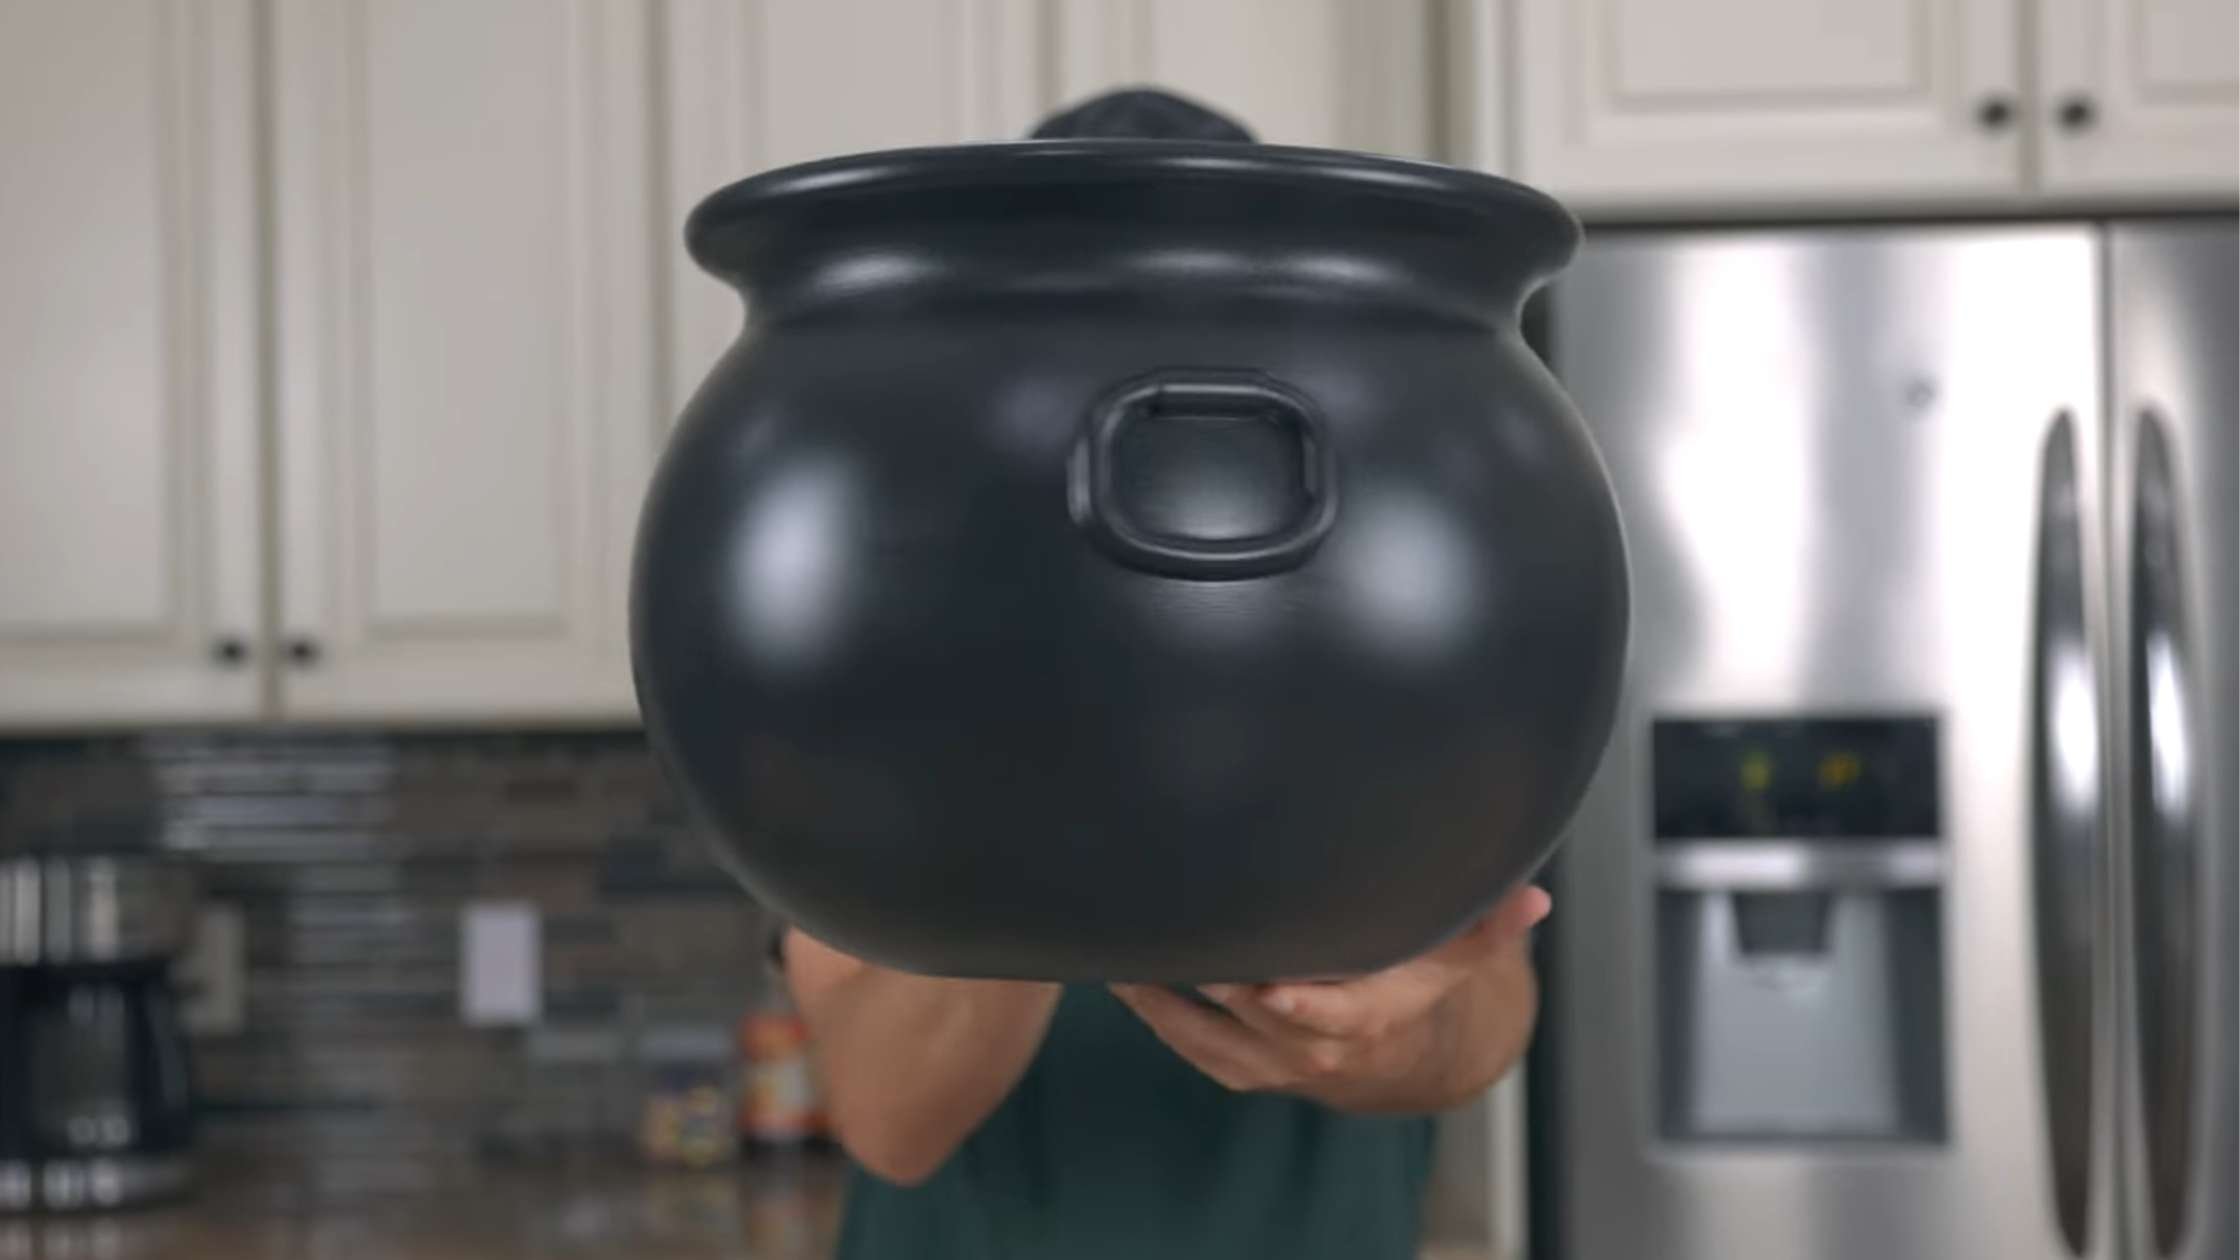
If you’re using one as part of a witchy Halloween display, chances are you’d like for it to look a little less… plasticky? If so, follow this really simple method to up your cauldron game up a notch. You can have this thing ready in about two hours and most of that is drying time!
So, let’s get started…
How to Make a Plastic Cauldron Look More Realistic
1. Create the “cast iron” mixture for your cauldron.
Once you have your supplies, the first step will be mixing the ingredients you need to give the plastic cauldron a textured finish. The combination I used was 3 parts baking soda, 1 part black paint, and 1 part glue.
For example, you could use 3/4 c Baking soda, 1/4 c paint, and 1/4c glue. The amount you create will depend on the size of your cauldron.
You can play around with the consistency a bit to get a look you’re satisfied with.

The baking soda is what will give the DIY cauldron its texture and the glue is what gives the mixture its sticking power. If your cauldron is extra slick, you can lightly sand it first.
Optional Step: Since I knew I was going to be using a fog mister inside of the cauldron, I decided to drill a hole towards the bottom for the cord to pass through without showing from the front. You can skip this if you’re not planning to create a foggy look or if you don’t mind the cord showing over the top of your cauldron.
2. Apply the textured paint mixture to the plastic cauldron.
Use a paintbrush to cover the entire witch cauldron in the mixture. You want to work semi-quickly as baking soda absorbs moisture, so the mixture will get a bit thick if left to sit for too long. If it does become a little too thick to spread, you can add a little water to thin it back out.

Once you’ve painted the cauldron, allow it to dry for at least an hour.
3. Paint some finishing touches onto the cauldron.
Take your rust-colored paint and randomly dab it onto the cauldron with a paintbrush or your fingers. You want this to be a more subtle look, so if you notice spots applied too thickly, just dab with a paper towel to lift some of it up.

To make the cauldron look as if it’s already been used to brew up potions, apply some of your green paint along the rim and in vertical spill patterns wherever you’d like.
4. Time to make the cauldron come to life!
Once you’ve followed the instructions on putting your fog mister together, place a big bowl or container of water inside the cauldron. You want the container to be almost as tall as your cauldron so that the fog is more visible. My container wasn’t quite tall enough, so I put a block of wood inside to rest it on. If you need to do something similar, be sure to use an item you don’t mind getting wet.
All that’s left is to throw in your lights. There are versions of this mister that already light up—however, the settings do not allow you to choose a solid color. Instead, the colors continuously rotate. So, if you’re looking for a continuous green potion-like glow for your Halloween display, the battery-powered, floating pool lights are your best bet.
And… that’s it. You now have a witch cauldron. Here’s mine. I used it on my hand-painted Hocus Pocus Halloween display.

Just a few tips…
Keep in mind that fog mister will create splashes in the immediate vicinity.
The fog may appear weak initially but gets better as it “warms” up.
For a larger DIY cauldron, you may need two misters to create a more pronounced effect— which is what I did.
Since the water will be evaporating to create the mist, you may need to refill it if running for a while.
If you’re planning to use this outdoors, be sure to spray the cauldron with a weatherproof sealant.
Let me know if you created a witchy cauldron of your own in the comments! I’d love to hear how it turned out. Happy Halloween!